A08: Design Lab
Synopsis
In this assignment, you will explore the Shadcn UI design system, play around with the components, and complete design challenges. The app itself will be built using Next.js, deployed live to the internet via Vercel. This is an individual assignment!
Assignment Instructions

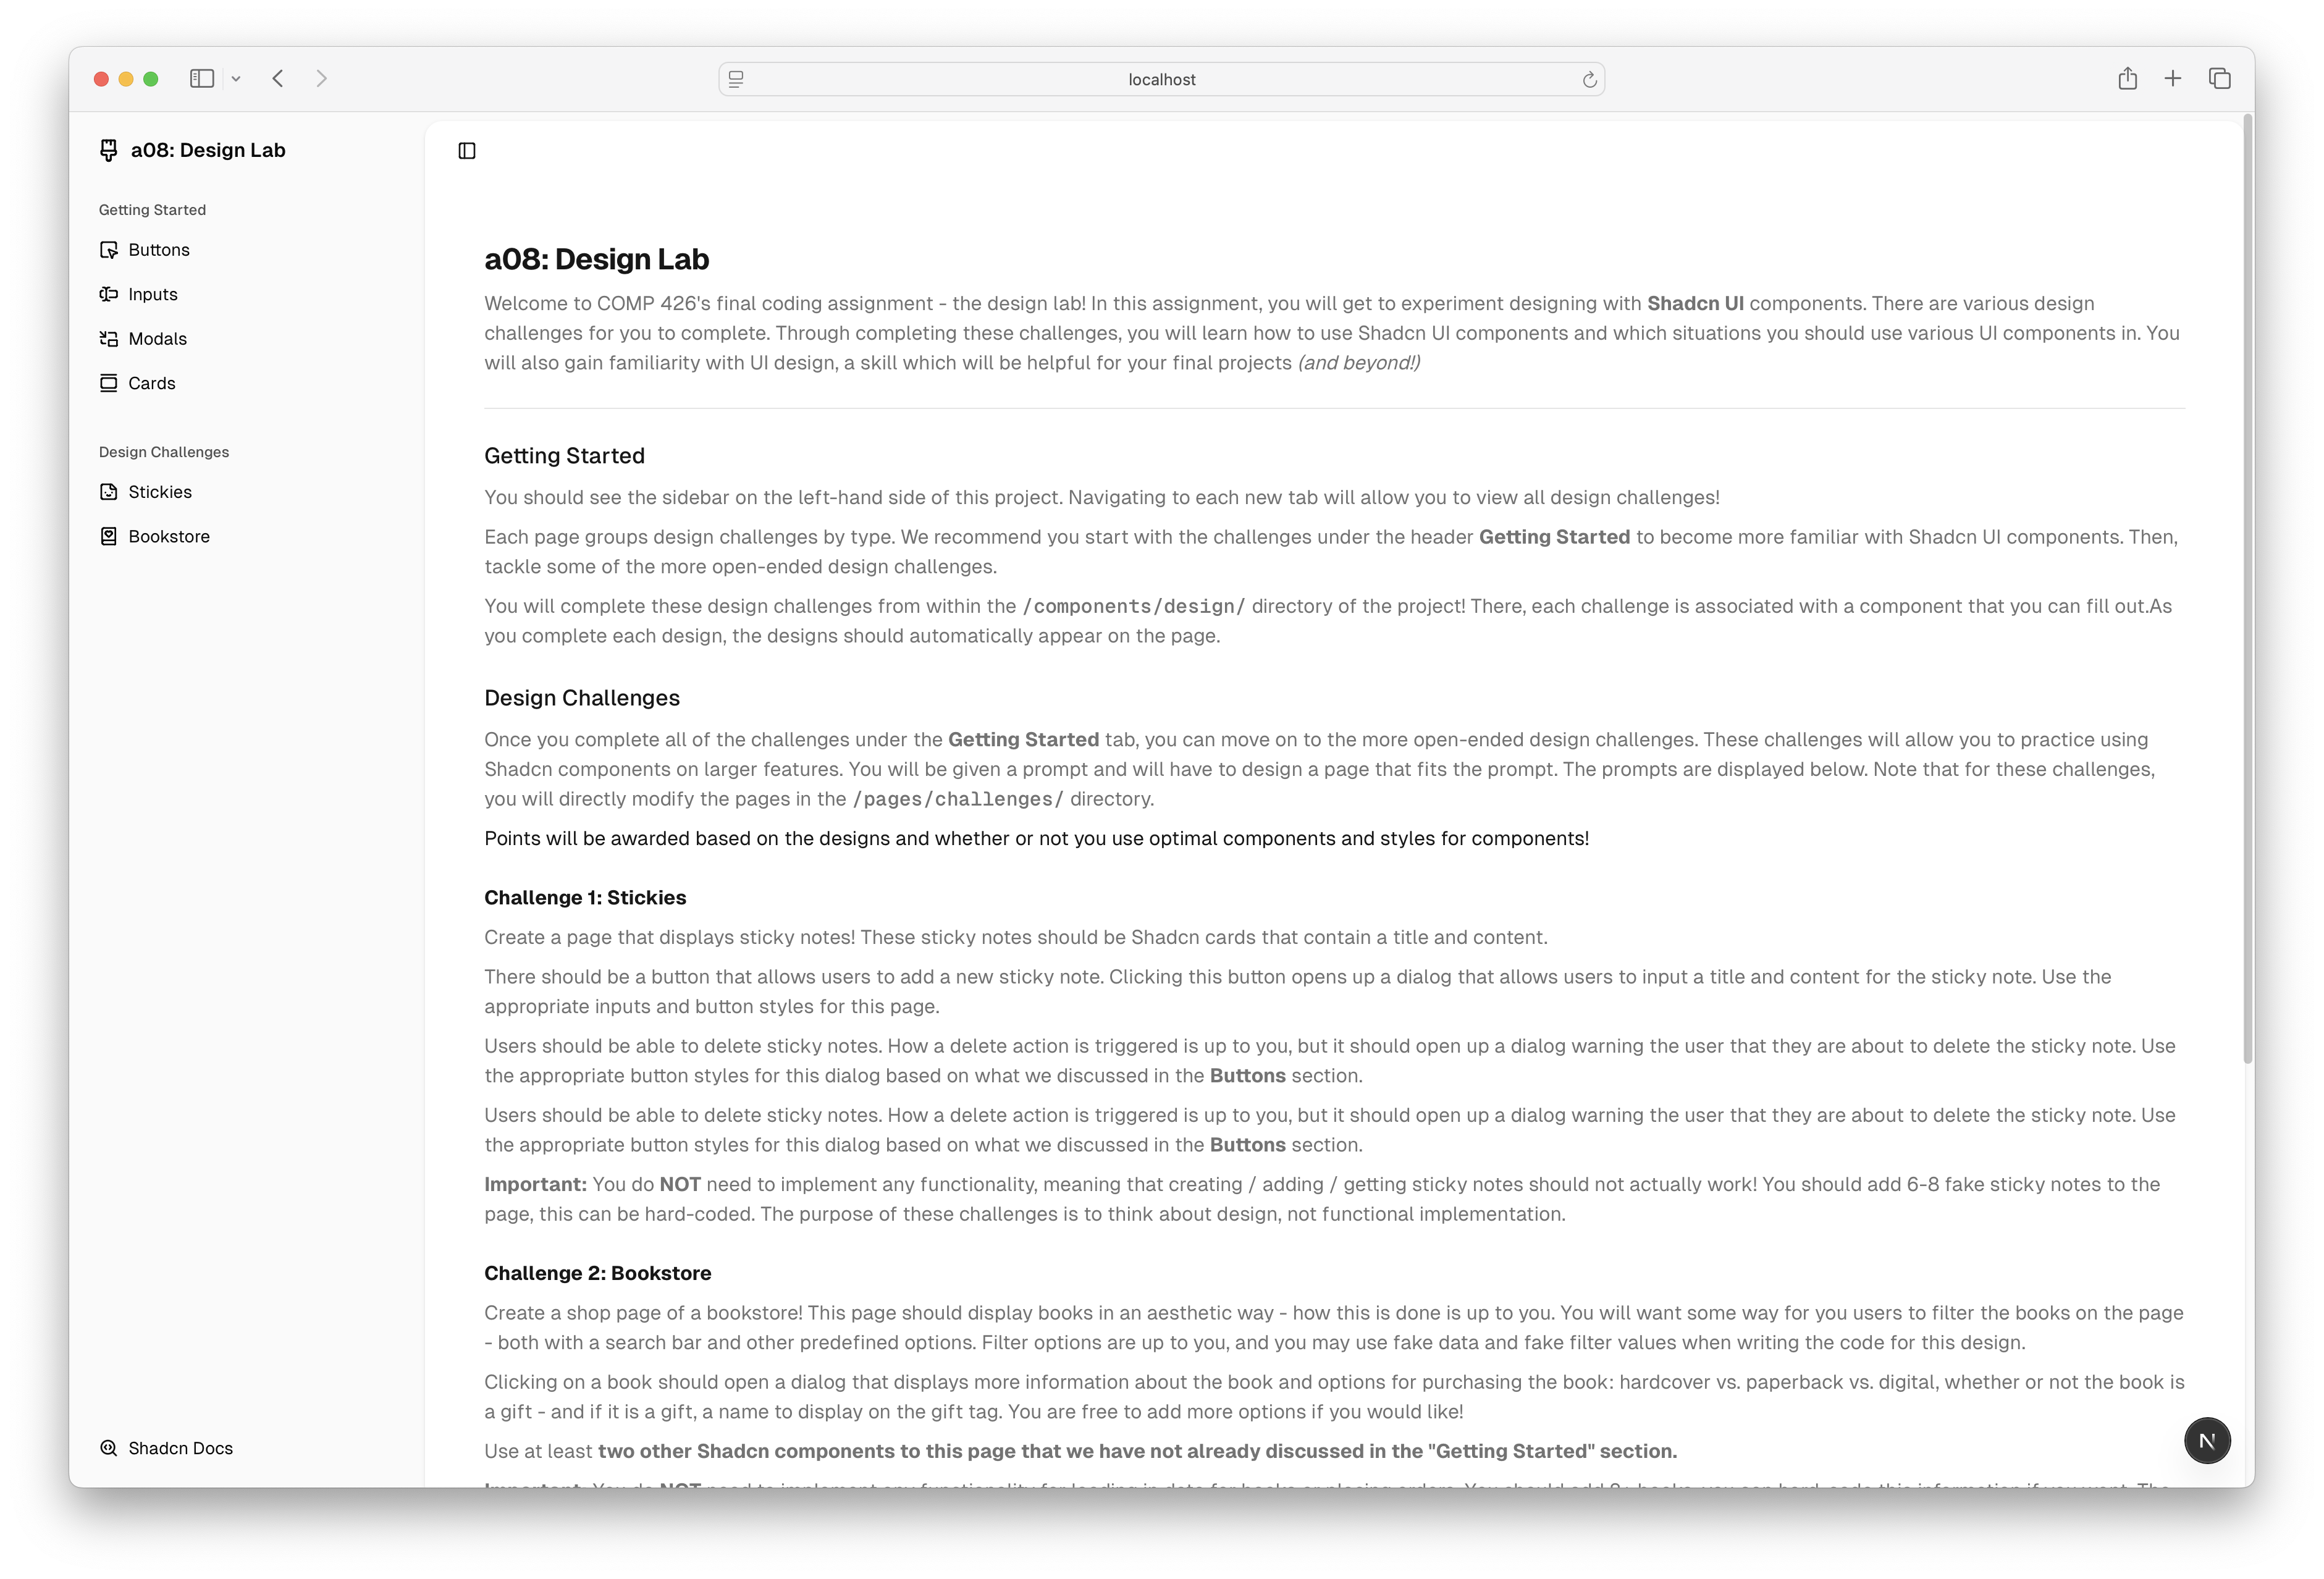
Nearly all of the assignment instructions that you need are located on the Design Lab website once you get it up and running!
Getting Started
To get started on this assignment, please complete the following steps:
- Accept the GitHub Classroom assignment here.
- Clone the repository to your local machine. You can either do this by:
- Using the CLI / Terminal:
git clone <repository-url> - Using GitHub Desktop: Click on the green "Code" button and select "Open with GitHub Desktop".
- Open the cloned repository in Visual Studio Code.
- You will now see a pop-up in the bottom right corner of your screen that says "Folder contains a Dev Container configuration file. Reopen folder to develop in a container". Click on "Reopen in Container". This will boot up a Docker container, a virtual environment that will have the correct version of Node installed for you. We will use Docker for this assignment to ensure that everyone in the class is using the same up-to-date version of Node - ensuring consistency amongst students in the class and (hopefully) to prevent compatibility issues!
- If you do not see this pop-up, you can also open the VS Code Command Palette (Cmd + Shift + P) and search for "Remote-Containers: Reopen in Container".
- Again, you must ensure that you install the extension linked in the "Prerequisites" section above for this to work! If you did install this extension and are still having issues, try to reload VS Code.
- The Docker container will be open once you see the green "Dev Container" icon in the bottom left corner of your VS Code window! You can now ensure that Node is installed by running
node -vin the terminal. You should see a version number printed out. - If you have many detected changes in the Git tab of VSCode after the container builds, you may clear all changes.
- Remember to
cd web! - Now, install the node packages required for this project by running
npm installin the terminal. This will install all of the dependencies listed in thepackage.jsonfile. - You can now run the project by running
npm run devin the terminal. This will start a local dev server that will host your website. Your website would then be accessible at the urlhttp://localhost:3000in your browser.
Deployment
The final step of this project is to deploy it to the web! Like previous assignments, we will use Vercel to deploy this assignment.
- Using the same method that you did for a01-a06, create a deployment fork of your classroom respository on your personal account. Make sure this remains a private repository!
- Then, log into Vercel.
- Press the "Add New" button on the right, then "Project"
- On the lefthand side under the "Import Git Repository" heading, you should see your deployment fork. Press "Import".
- Under Framework Preset, make sure to select "Next.js".
- Under "Root Directory", press Edit. Then, select
weband press Continue. The Root Directory should now sayweb. - Override the install command to be:
npm install --force. - Press "Deploy" and wait for the deployment to finish.
Please come into office hours if you encounter any issues.
Submission
You will submit your final website to Gradescope. Before submitting, make sure that:
- All of your changes have been pushed to GitHub. You will be submitting a GitHub repository link along with source code - if you do not push your changes, we may get an incomplete version of your website.
- Your website is deployed to Vercel and is accessible at the URL following the format:
https://a08-design-lab-yourname.vercel.app.