A07: Alias
Synopsis
In this assignment, you will be implementing the realtime functionality for Alias - a casual chatting app based off of Discord! Users can log in / sign up, join or create servers, send messages and images, and add reactions. As users in the same server / channel perform these actions, all other users get immediately notified and the UI updates in realtime.
The app itself is built using Next.js and will be deployed live to the internet via Vercel. This is a rather large application! The UI and many of the helper functions have been set up for you. The completed code that we worked on for you also can serve as a good guide as an example for how you might want to set up / organize your final project. The app itself will be built using Next.js, deployed live to the internet via Vercel.
You will complete this project with a partner. IMPORTANT: Only one member needs to submit to GradeScope - make sure that both partners are listed in the submission!
Prerequisites
If you have not already, make sure that you have signed up for a free account at Supabase.io. Once you have signed up for an account, you will be ready to move to the next steps.
If you have not already, please install the Docker DevContainers extension for VS Code. This will allow you to open this project in a Docker DevContainer.
Install here: Docker DevContainers
Creating the Supabase Project
In the last assignment, you created a Supabase account and organization. For A07, we will want to create a new organization that can be shared with your partner. This will allow you to both work on the same project and share the same database. NOTE: Only ONE member needs to create an organization!
Go to your Supabase dashboard and create a new organization. You can name your organization anything you like. Make sure that your plan is set to the Free tier, as shown below:
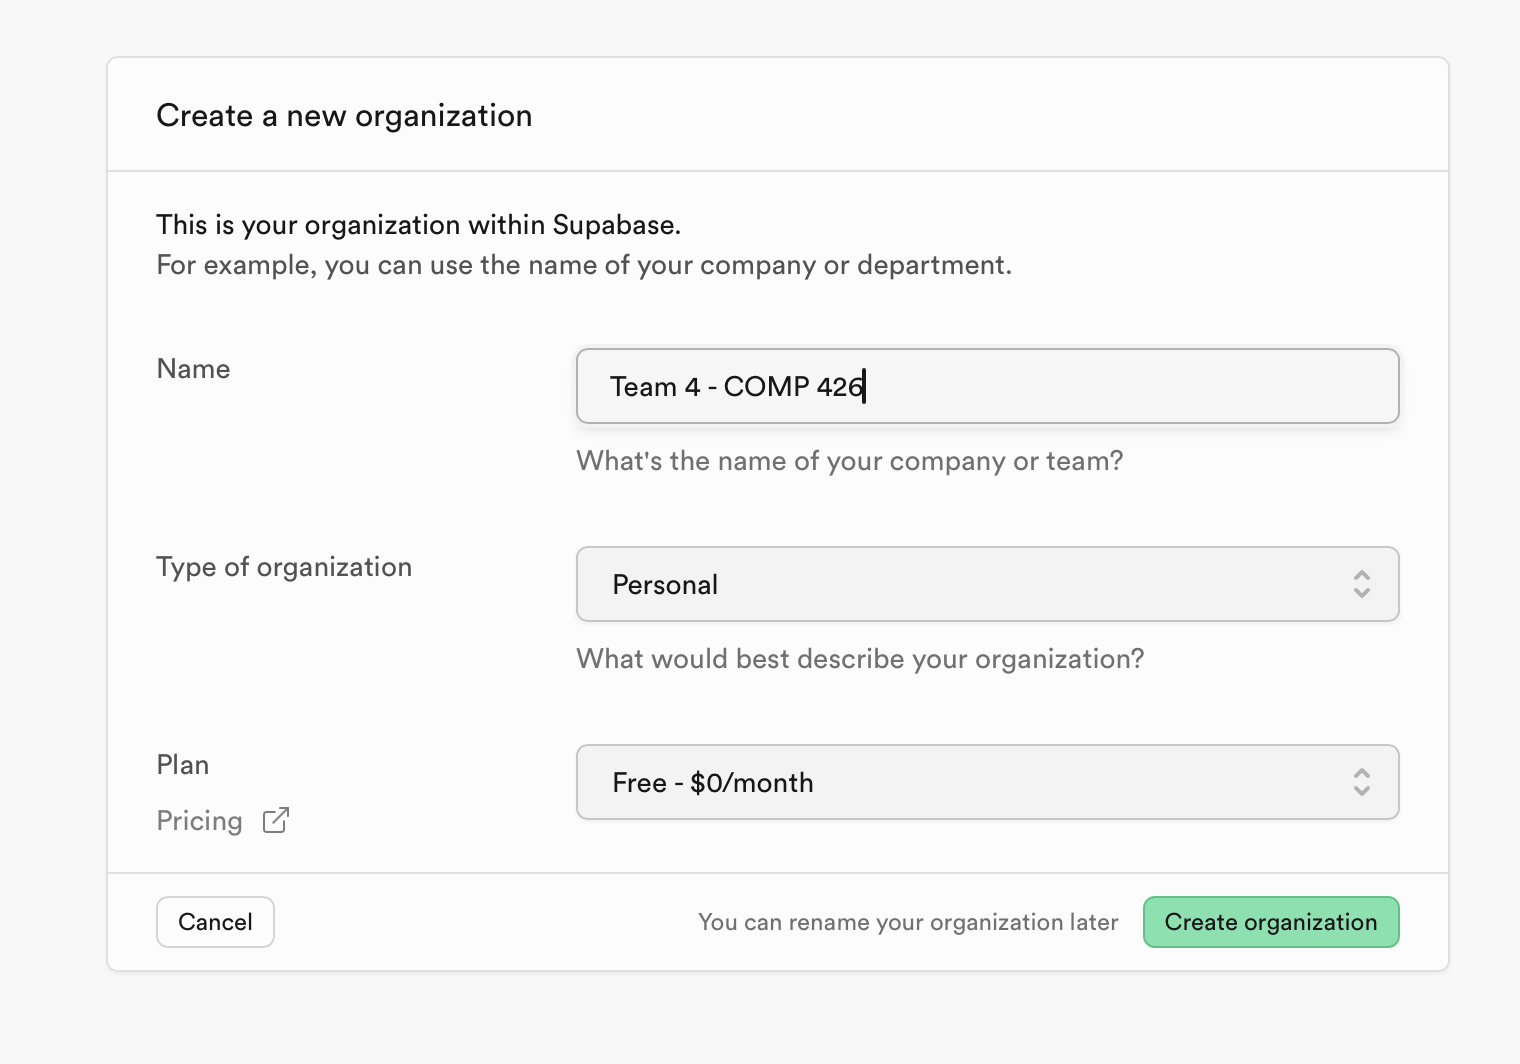
Press "Create organization".
IMPORTANT: Supabase allows a maximum of two projects on the free tier that are active. If you have two projects already, you will need to pause one. Please do NOT pause a06 - we are still grading! In the worst-case scenario and you have two projects (a06 + one more) that are a necessity to keep running, you may either create a new account to bypass this restriction or let your partner create the organization. You may use your UNC email, for example, if you originally signed up using a personal Gmail or GitHub account. To pause a project, press on the project, navigate to "Project Settings" on the sidebar, then find the header "Pause project" and pause the project. It may take a few minutes for this to work.
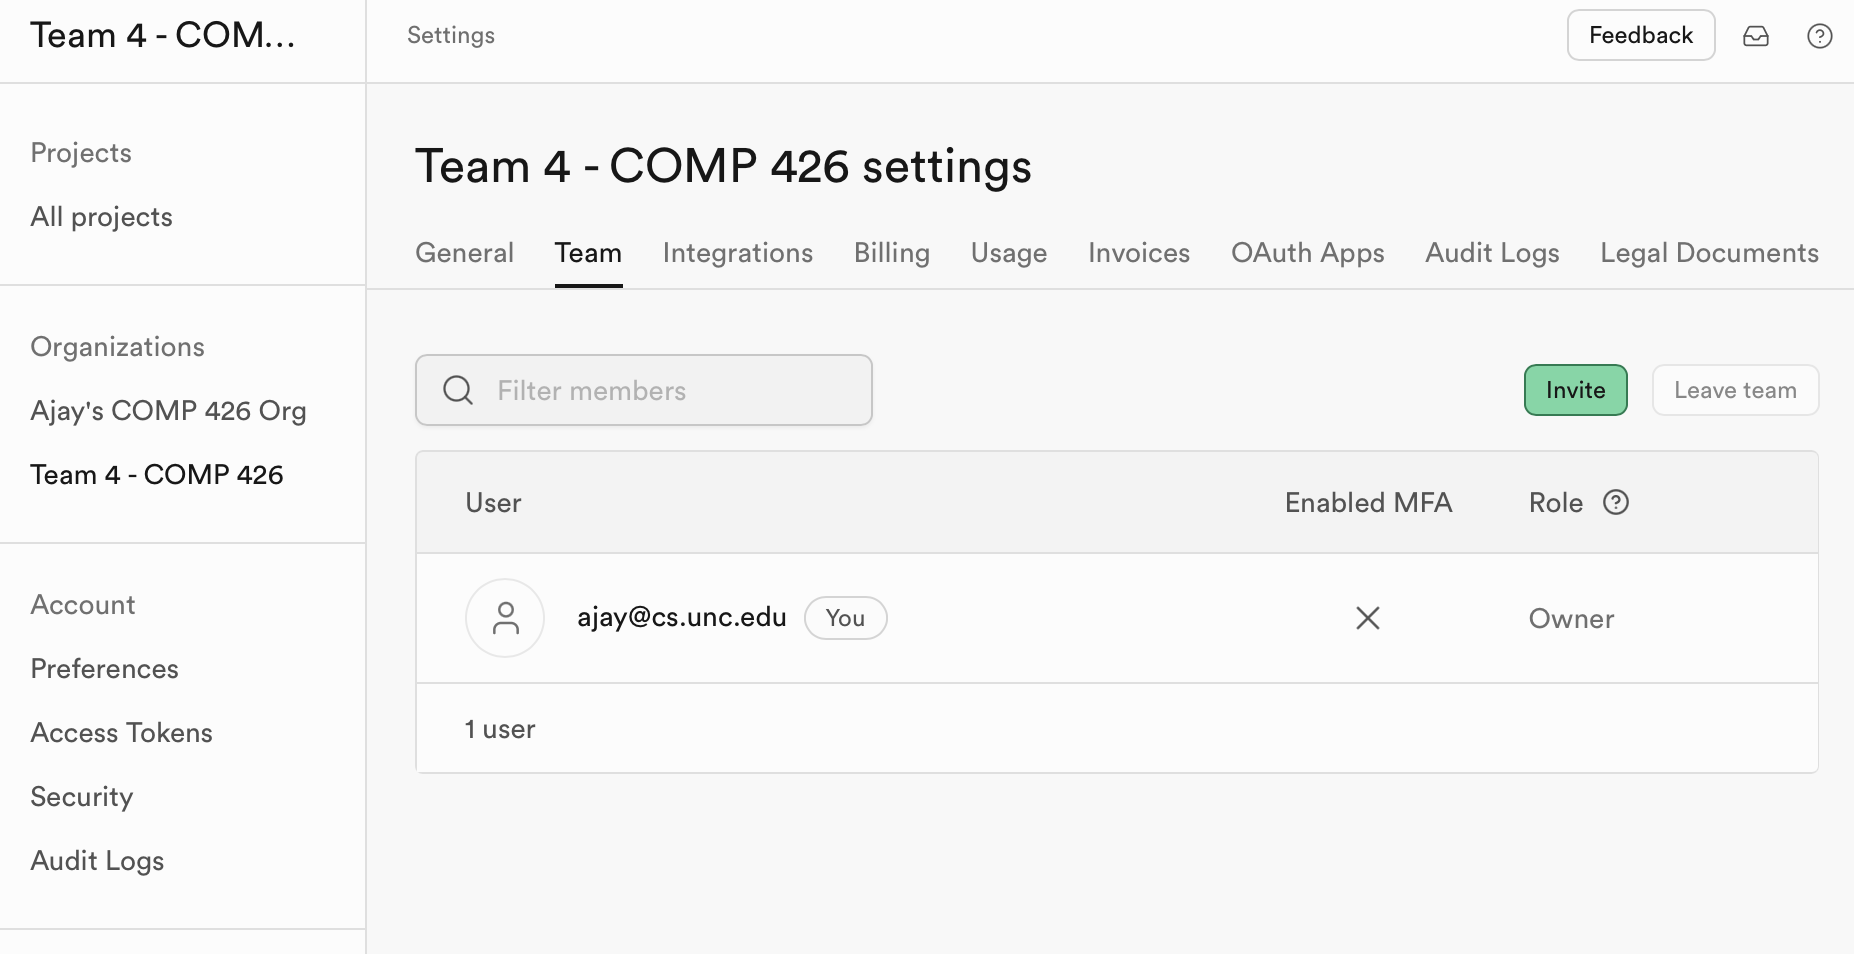
Once you have an organization, you will want to invite your partner to it. On the sidebar, press your newly created organization. Navigate to the "Teams" tab and invite your partner. This will allow them to see all of the projects for that organization.
Now, you can create a new project! Name this project anything you like, but we recommend including a07 so it is easy to read. Next, make sure to generate a database password and keep this saved somewhere! You will actually need this password in the next step.
Very important: Make sure you set your region to East US (North Virginia)! The location of your server will greatly affect latency and performance. Ideally, you want your server to be as close to your users as possible. Since we are at UNC, the Virginia server is the closest to us.
Now that you have created a project, you will be taken to the project dashboard. On the first load, it might take a few minutes to entirely initialize and set up your project. Once it is ready, we can begin configuring the features of our backend!
Getting Started on the Frontend
To get started on this assignment, please complete the following steps:
- Accept the GitHub Classroom assignment here. This is a group assignment, so make sure that you accept the assigment in your team! If you team has not yet been created, please do so.
- Clone the repository to your local machine. You can either do this by:
- Using the CLI / Terminal:
git clone <repository-url> - Using GitHub Desktop: Click on the green "Code" button and select "Open with GitHub Desktop".
- Open the cloned repository in Visual Studio Code.
- You will now see a pop-up in the bottom right corner of your screen that says "Folder contains a Dev Container configuration file. Reopen folder to develop in a container". Click on "Reopen in Container". This will boot up a Docker container, a virtual environment that will have the correct version of Node installed for you. We will use Docker for this assignment to ensure that everyone in the class is using the same up-to-date version of Node - ensuring consistency amongst students in the class and (hopefully) to prevent compatibility issues!
- If you do not see this pop-up, you can also open the VS Code Command Palette (Cmd + Shift + P) and search for "Remote-Containers: Reopen in Container".
- Again, you must ensure that you install the extension linked in the "Prerequisites" section above for this to work! If you did install this extension and are still having issues, try to reload VS Code.
- The Docker container will be open once you see the green "Dev Container" icon in the bottom left corner of your VS Code window! You can now ensure that Node is installed by running
node -vin the terminal. You should see a version number printed out. - If you have many detected changes in the Git tab of VSCode after the container builds, you may clear all changes.
- Remember to
cd web! - Now, install the node packages required for this project by running
npm installin the terminal. This will install all of the dependencies listed in thepackage.jsonfile. - You can now run the project by running
npm run devin the terminal. This will start a local dev server that will host your website. Your website would then be accessible at the urlhttp://localhost:3000in your browser.
Set up Configuration using the Supabase CLI
This assignment utilizes all of the Supabase features we have discussed so far - database, authentication, storage, and realtime. To make the setup process easier and to ensure that the queries we wrote for you work with your setup, we have provided the necessary files to quickly set up your Supabase project. This is located in /supabase.
Only one team member has to complete these steps!
First, you will want to cd to the root folder of your project - NOT /web! Check to ensure that you are in the right place before continuing.
First, log into Supabase from your CLI. You can do this by running the following command in the terminal:
npx supabase login
You should see the following prompt:
Hello from Supabase! Press Enter to open browser and login automatically.
Press the Enter key and you will be taken to a browser window where you can log in to your Supabase account. Once you have logged in, copy and paste the verification code into the terminal. This should log you into the Supabase CLI.
Next, you will want to connect to your Supabase project. You can do this by running the following command in the terminal. Replace <project-id> with the project ID of your Supabase project. You can find this in the URL of your project dashboard: https://supabase.com/dashboard/project/<project-id>!
npx supabase link --project-ref <project-id>
Running this command will prompt you for your database password. Copy in the password that you set when creating the project. If you are unable to access this password or forgot it, you can reset it by going to the "Project Settings" tab at the bottom of the sidebar in your project, then press "Database" under the Configuration header. There is a place to reset the database password on this page.
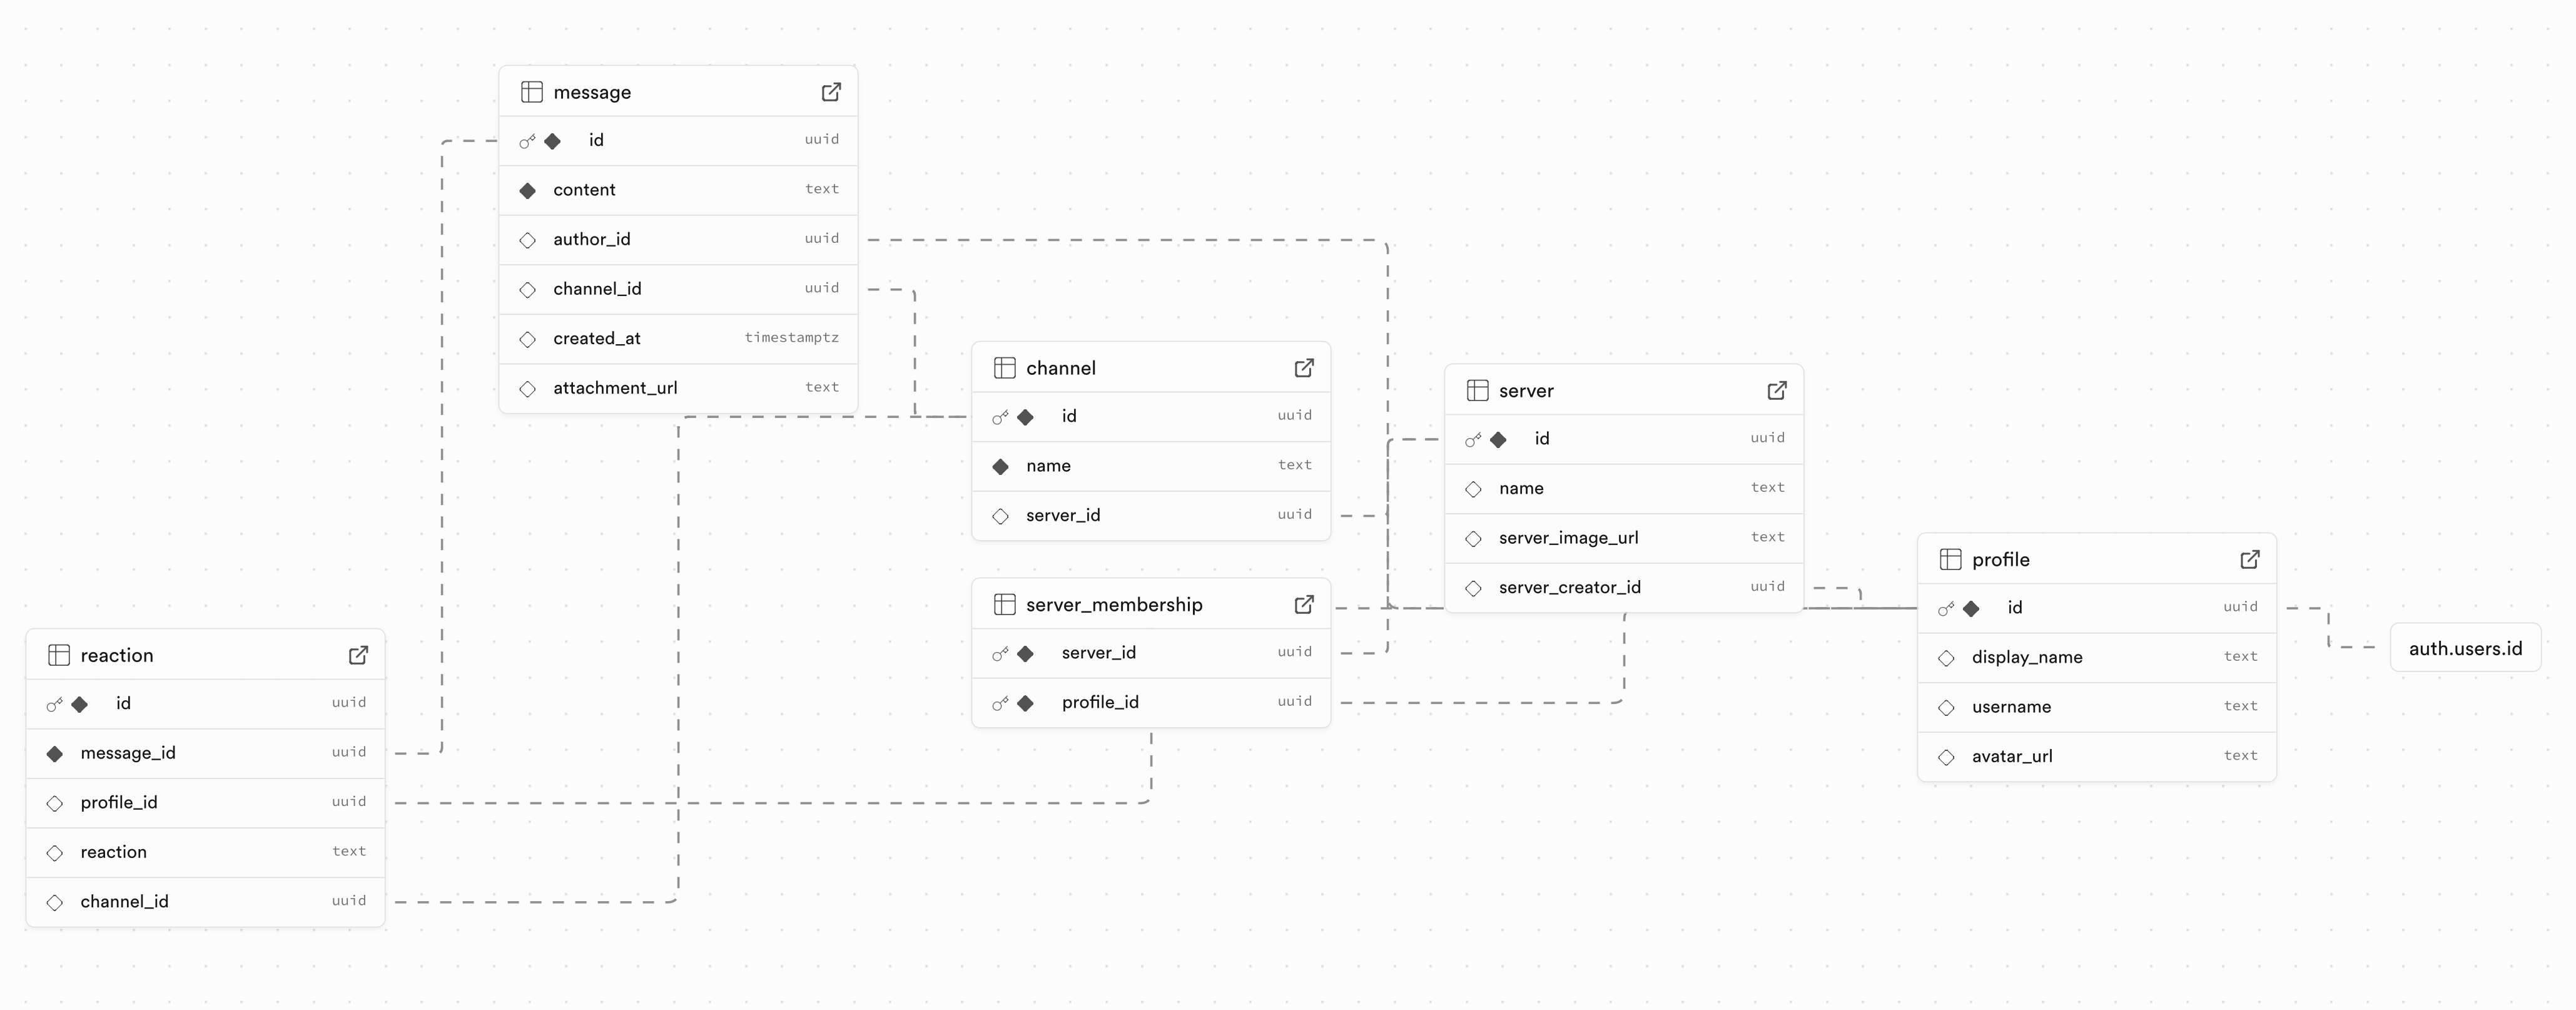
The /supabase folder contains a folder named migrations. The migrations folder contains SQL script that will set up all of the database tables and other Supabase settings for your project to match the expected configuration. To run these migrations, you can run the following command in the terminal:
npx supabase db push
Once this succeeds, navigate back to your a07 Supabase project. You should see that the tables have been created and the database is set up correctly. The generated schema will look something like this:
Setting Up Supabase Authentication
The next step after creating our project is to configure authentication. This will allow users to sign up and log in to our app. On the left sidebar, click on "Authentication". You will now see an empty table of users. As users sign up, they will be added to this table.
Configure Email Sign-in Method
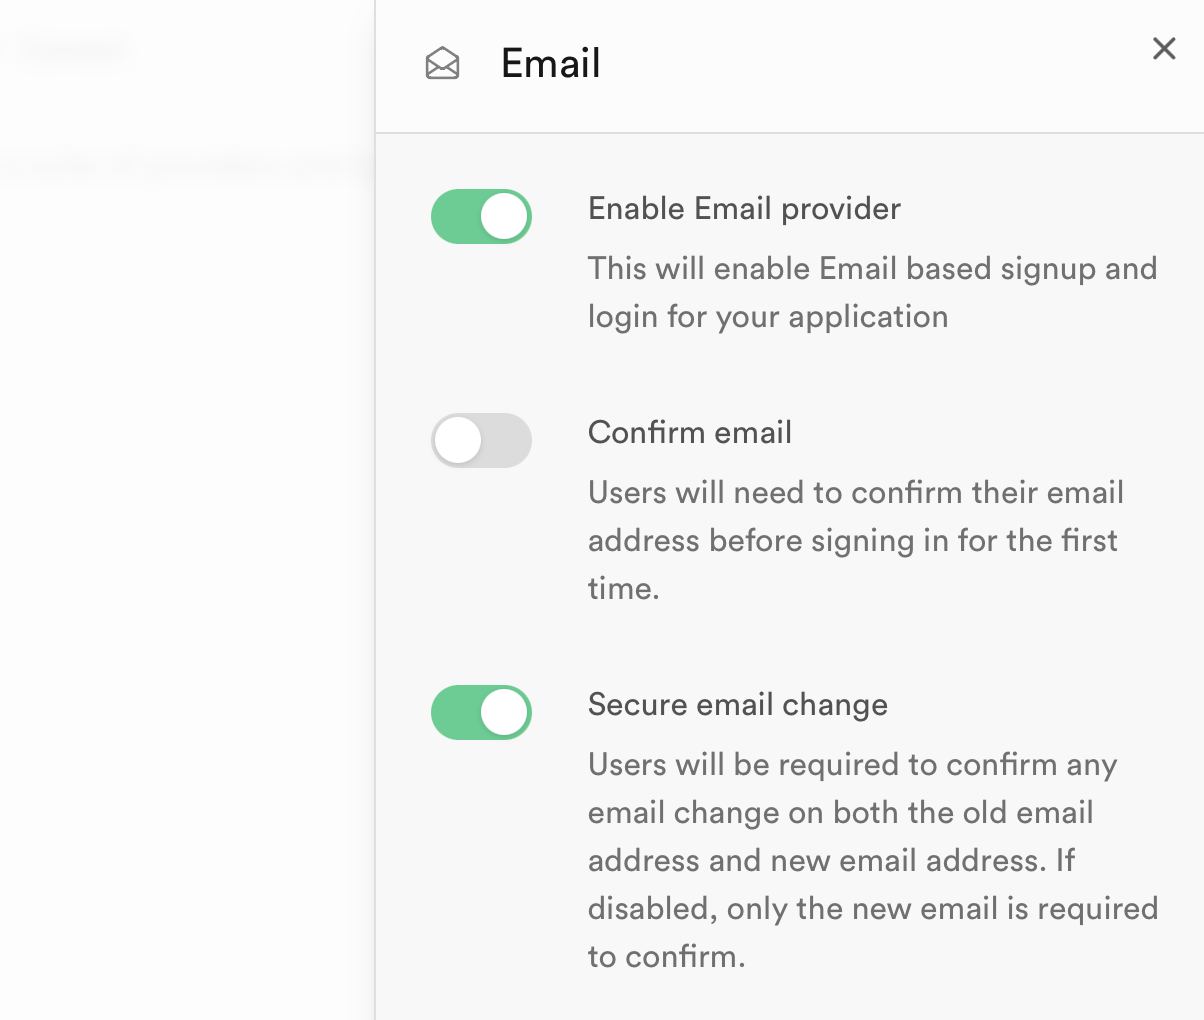
Navigate to "Sign In / Sign Up" on the sidebar under "Configuration". This will allow you to configure the sign-in methods for your app. This page should look like this by default:
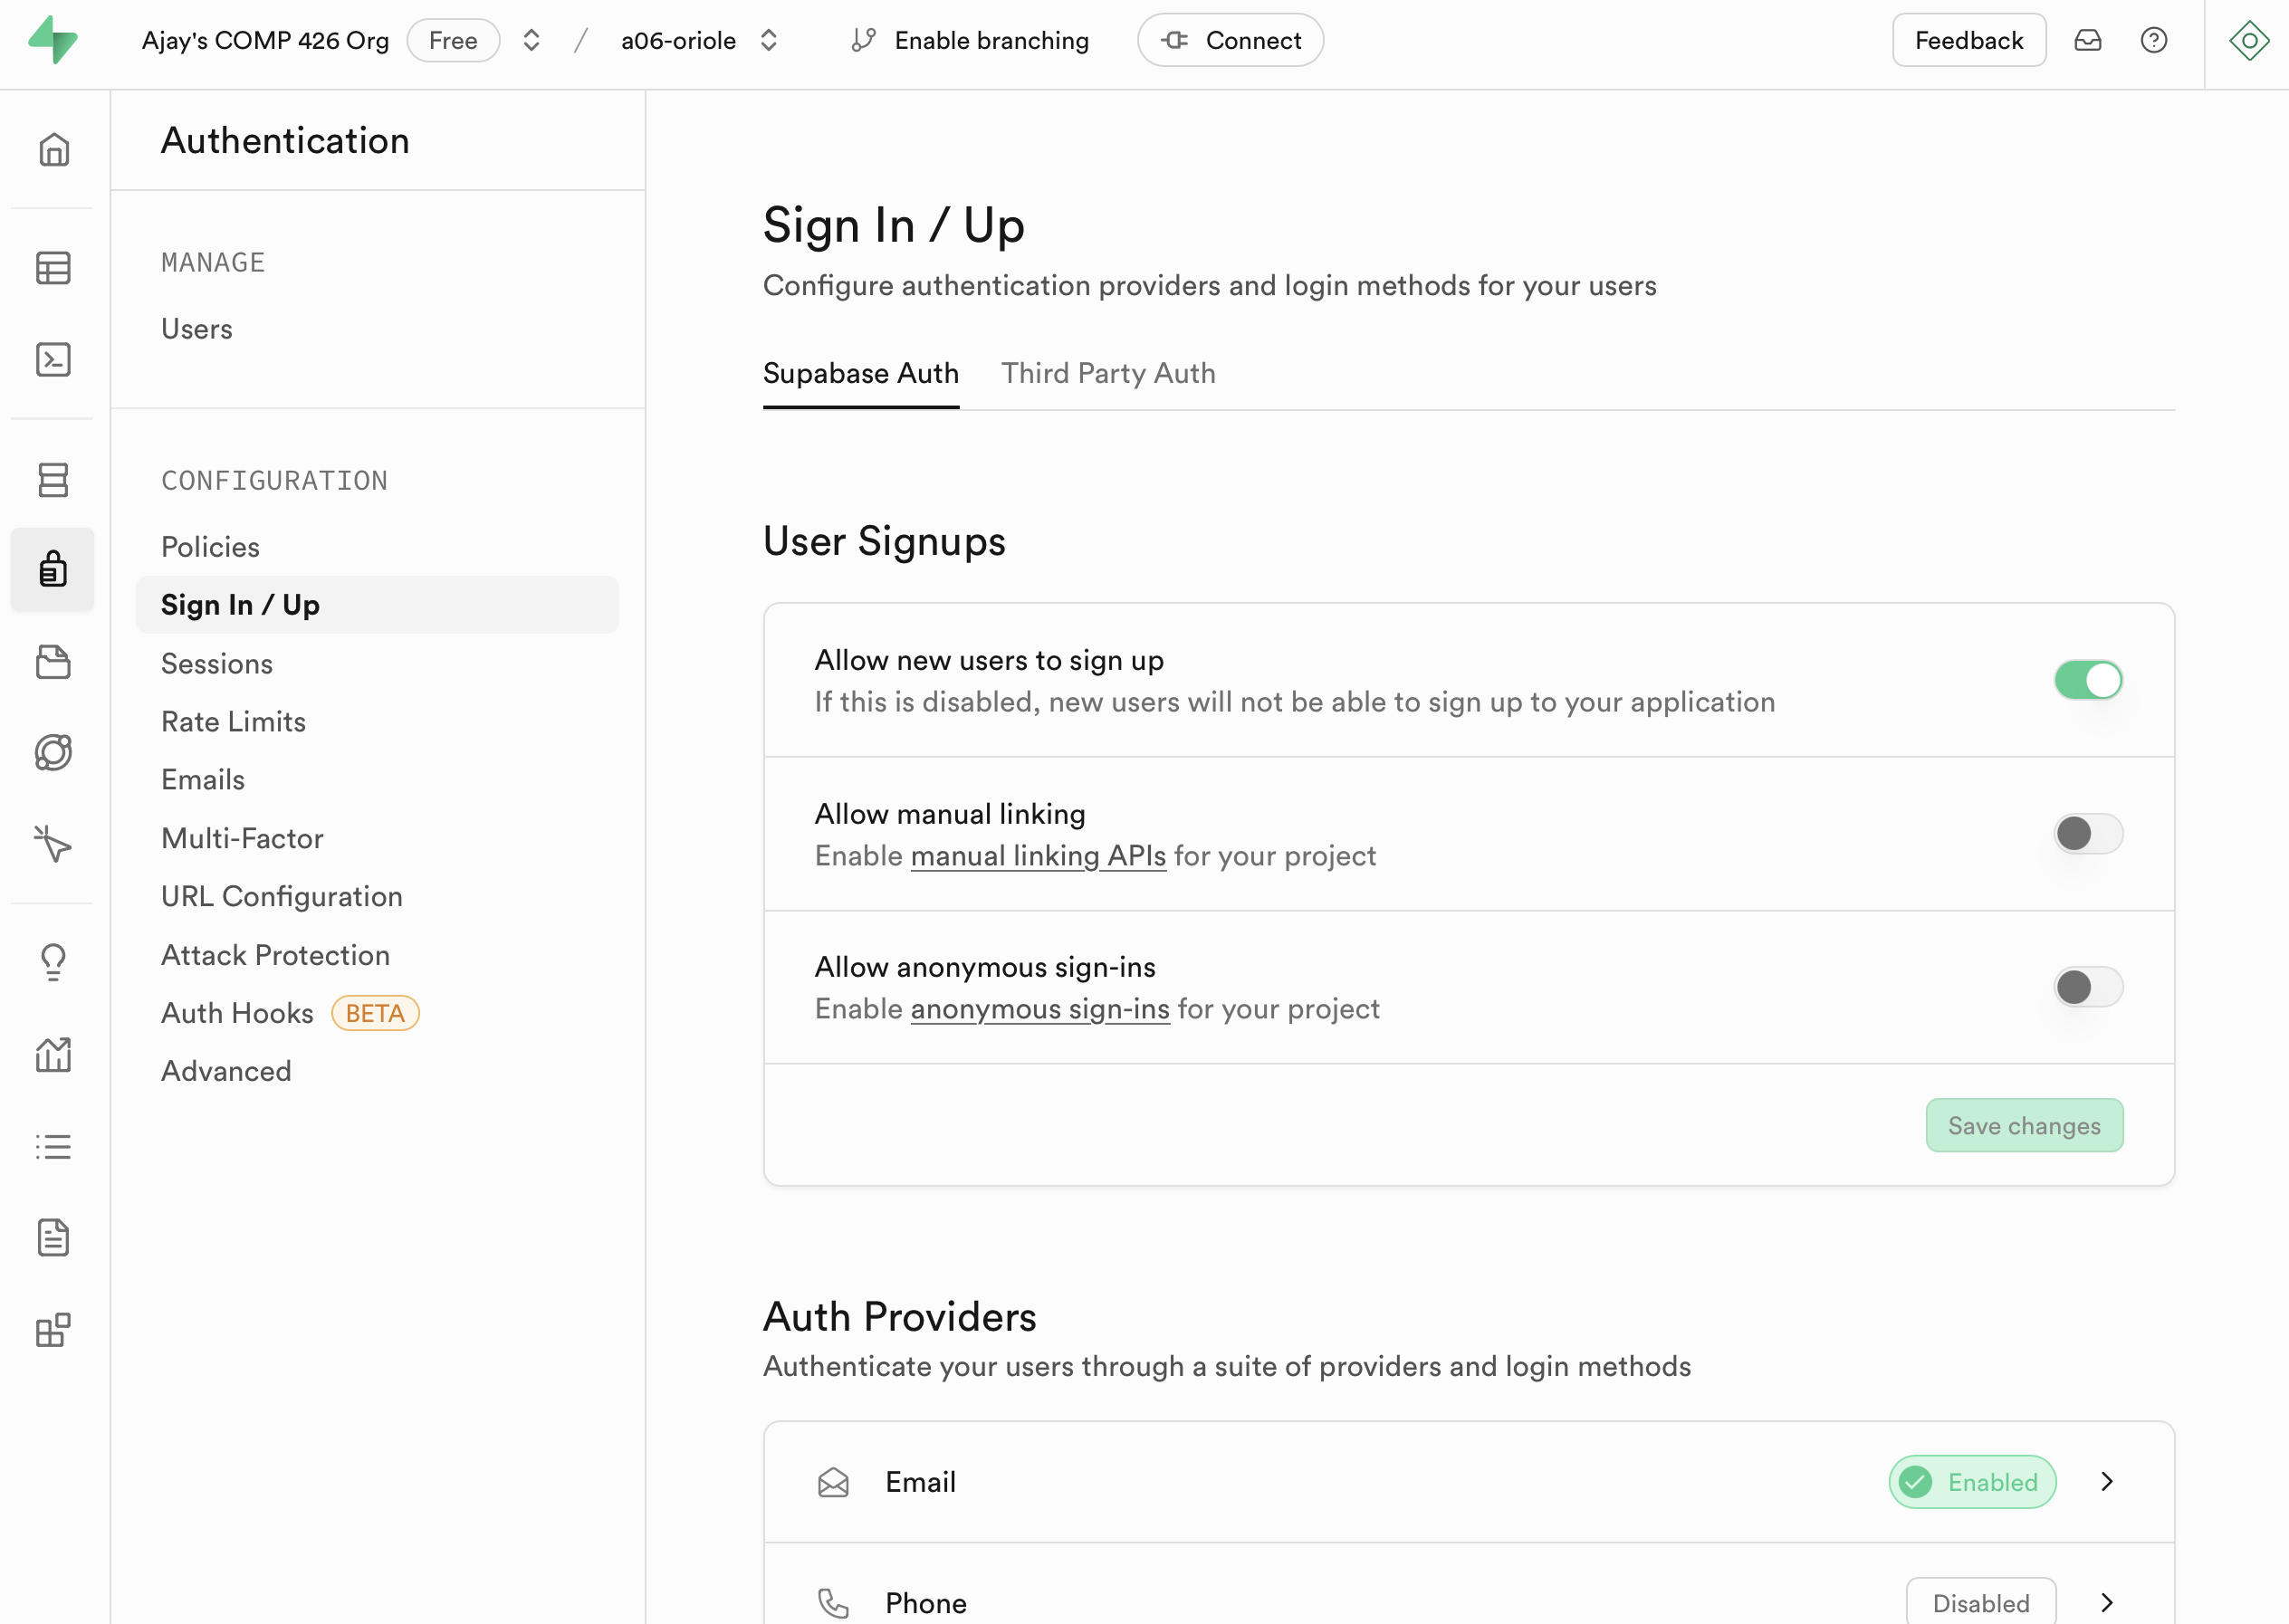
On this page, you will see the section for "Auth Providers". This allows us to specify the methods by which our user can register. You are able to enable multiple methods such as logging in with Google or GitHub - but for this assignment, we will only be using email and password. This should be enabled by default, but we need to modify one setting. Press on "Email" in the list of providers and you should see some options. Make sure to disable "Confirm email" as shown below:
This will allow users to sign up without needing to confirm their email address and will make it easier while we develop Oriole.
Setting up Functions and Triggers
Like in A06, we need a function and trigger to configure our profile table.
First, navigate to the SQL editor by clicking on the "SQL Editor" tab on the left sidebar. Now, paste in the following SQL code. Read through the code below and try to make sense of its functionality (even if you do not entirely understand the syntax - that is okay, you do not need to know SQL!):
-- Create a function that inserts a new row into the profile
-- based on a new user's data.
create or replace function public.handle_new_user()
returns trigger
language plpgsql
security definer set search_path = ''
as $$
begin
insert into public.profile (id, display_name, username)
values (new.id, new.raw_user_meta_data ->> 'display_name', new.raw_user_meta_data ->> 'username');
return new;
end;
$$;

-- Create a trigger that runs the above function whenever a new
-- user gets signed up.
create or replace trigger on_auth_user_created
after insert on auth.users
for each row execute procedure public.handle_new_user();
Once you paste in your SQL code into the editor, press the green "Run" button in the bottom right.
Configuring Supabase Storage
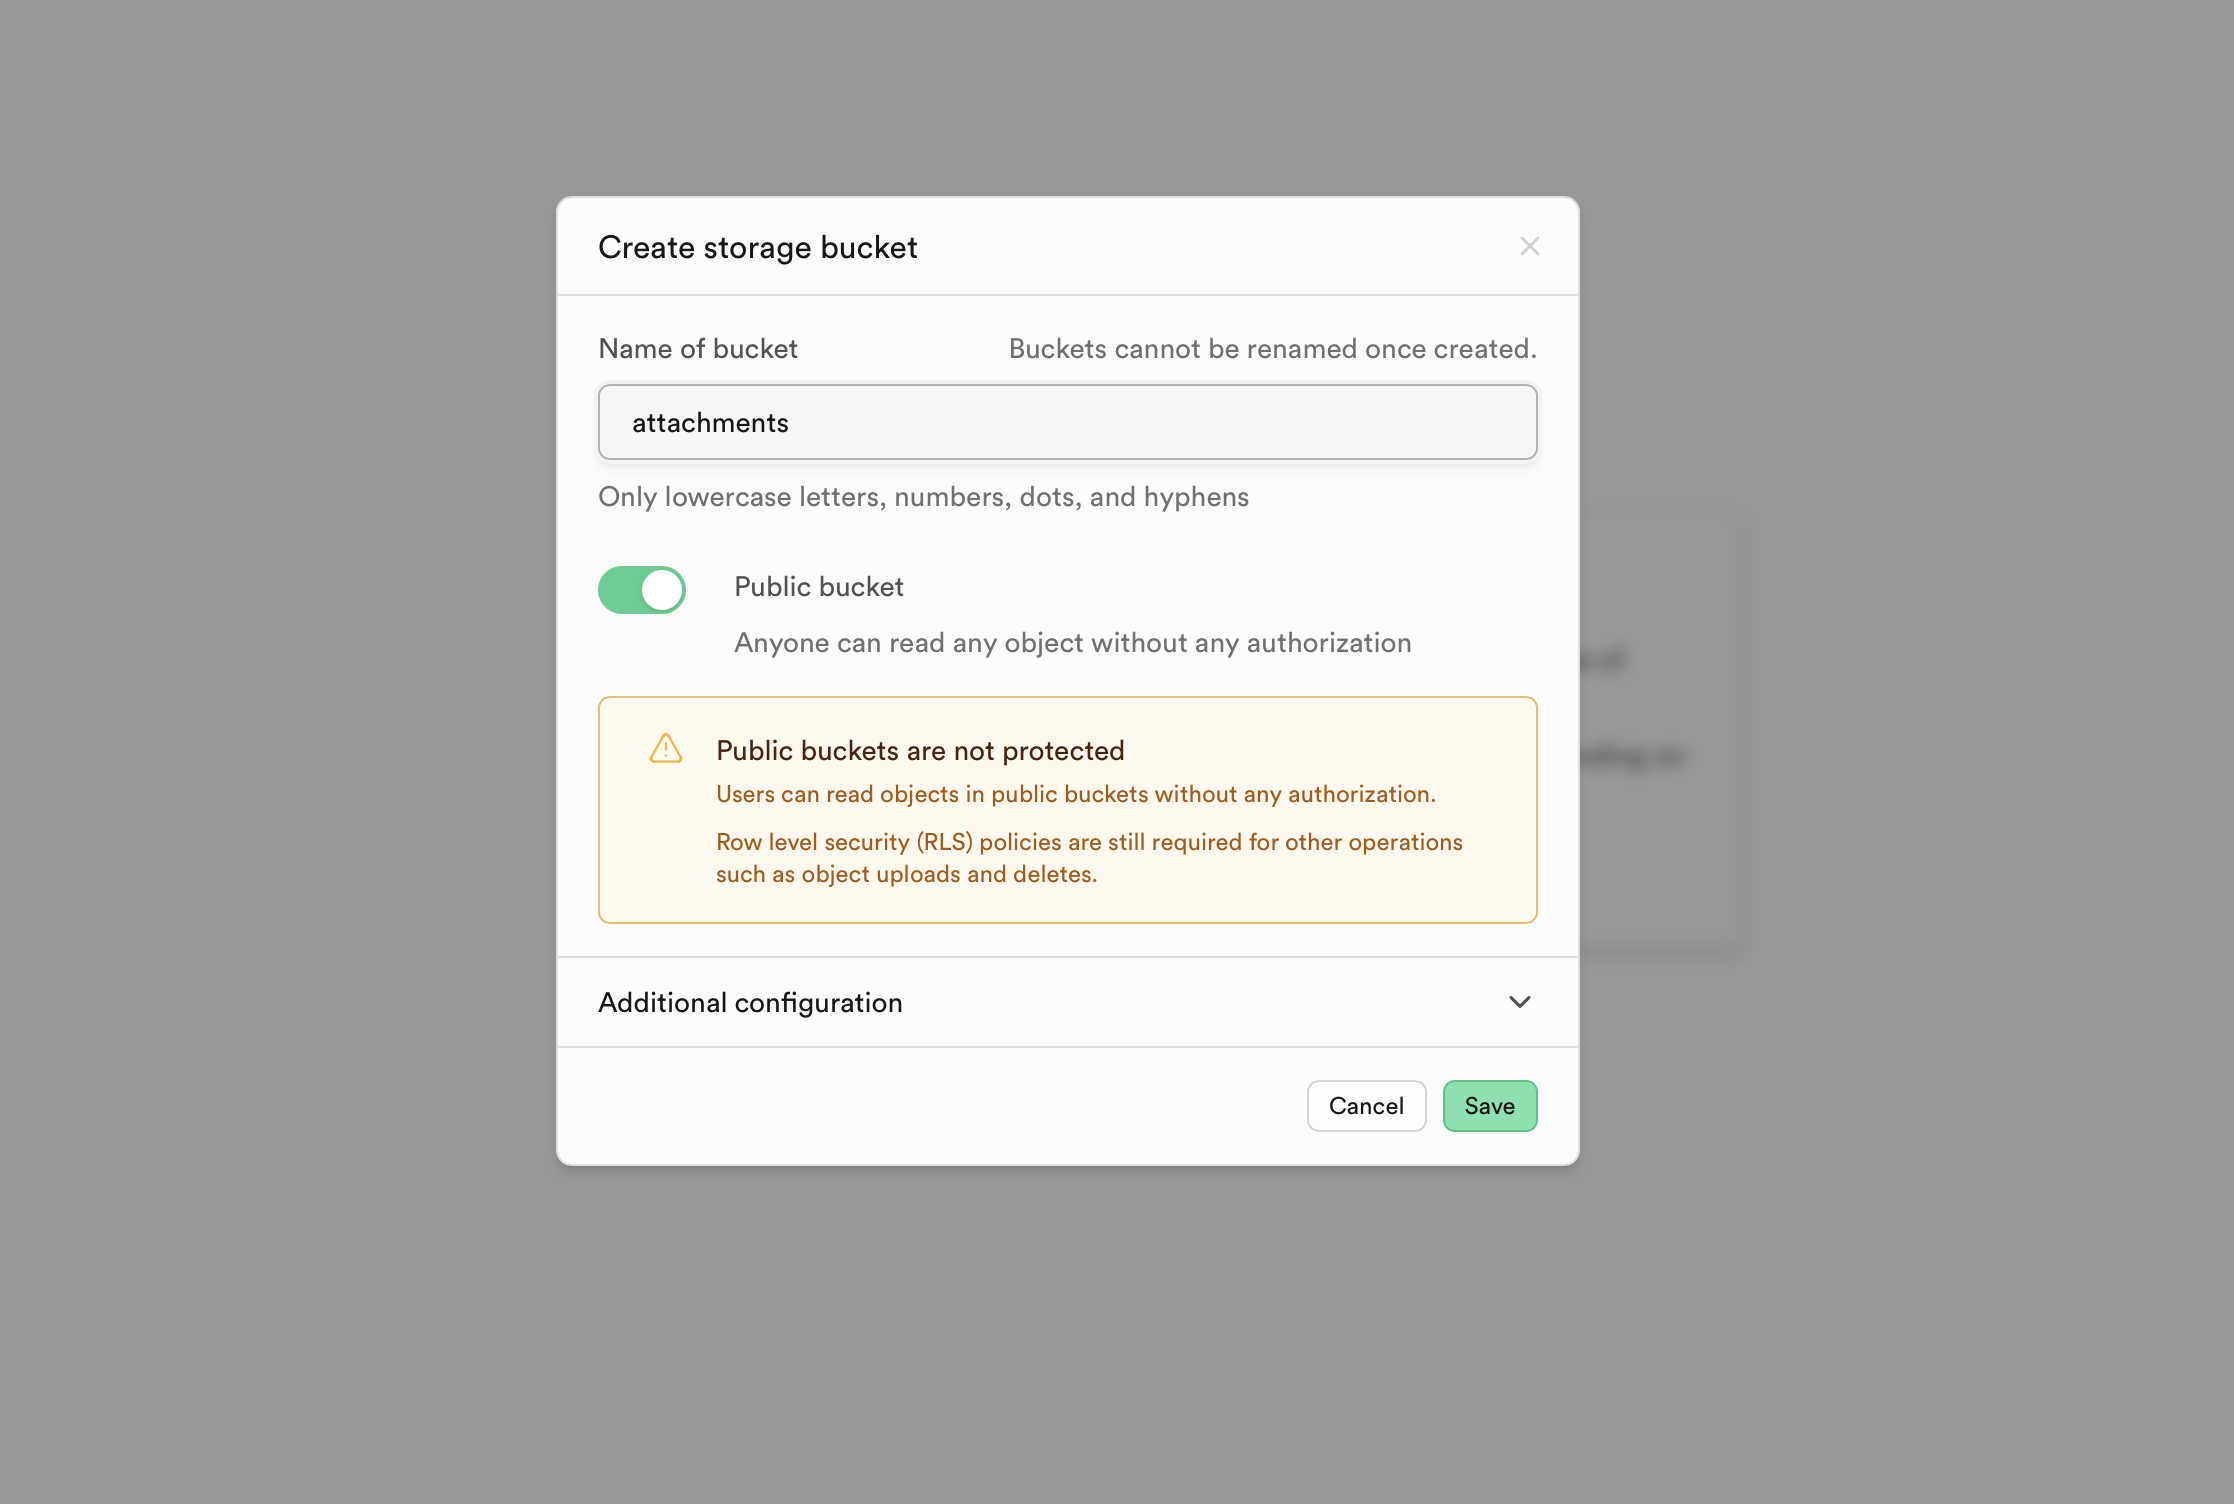
The last step is to configure Supabase storage. We need to create three buckets -- attachments, avatars, and server-images.
Navigate to the "Storage" tab on the sidebar. Press on "New Bucket" to create a bucket. These names must be exact! Make sure to also checkmark "Public bucket" like so:
We now need to configure our policies for these buckets to ensure that anyone can read and write to them. Note that this is NOT a best practice - but, for the sake of this assignment, we will keep it simple and have open access to these buckets.
Navigate to the "Policies" tab under "Configuration" on the Storage page. For ALL 3 buckets, press the New policy button. Then, press For full customization to create a policy from scratch.
Give the policy a name, then checkmark all allowed operations. Again, this is not best practice - do not do this in a real deployed app - but, we want to keep things a bit simple for now. Selecting these options should result in this:
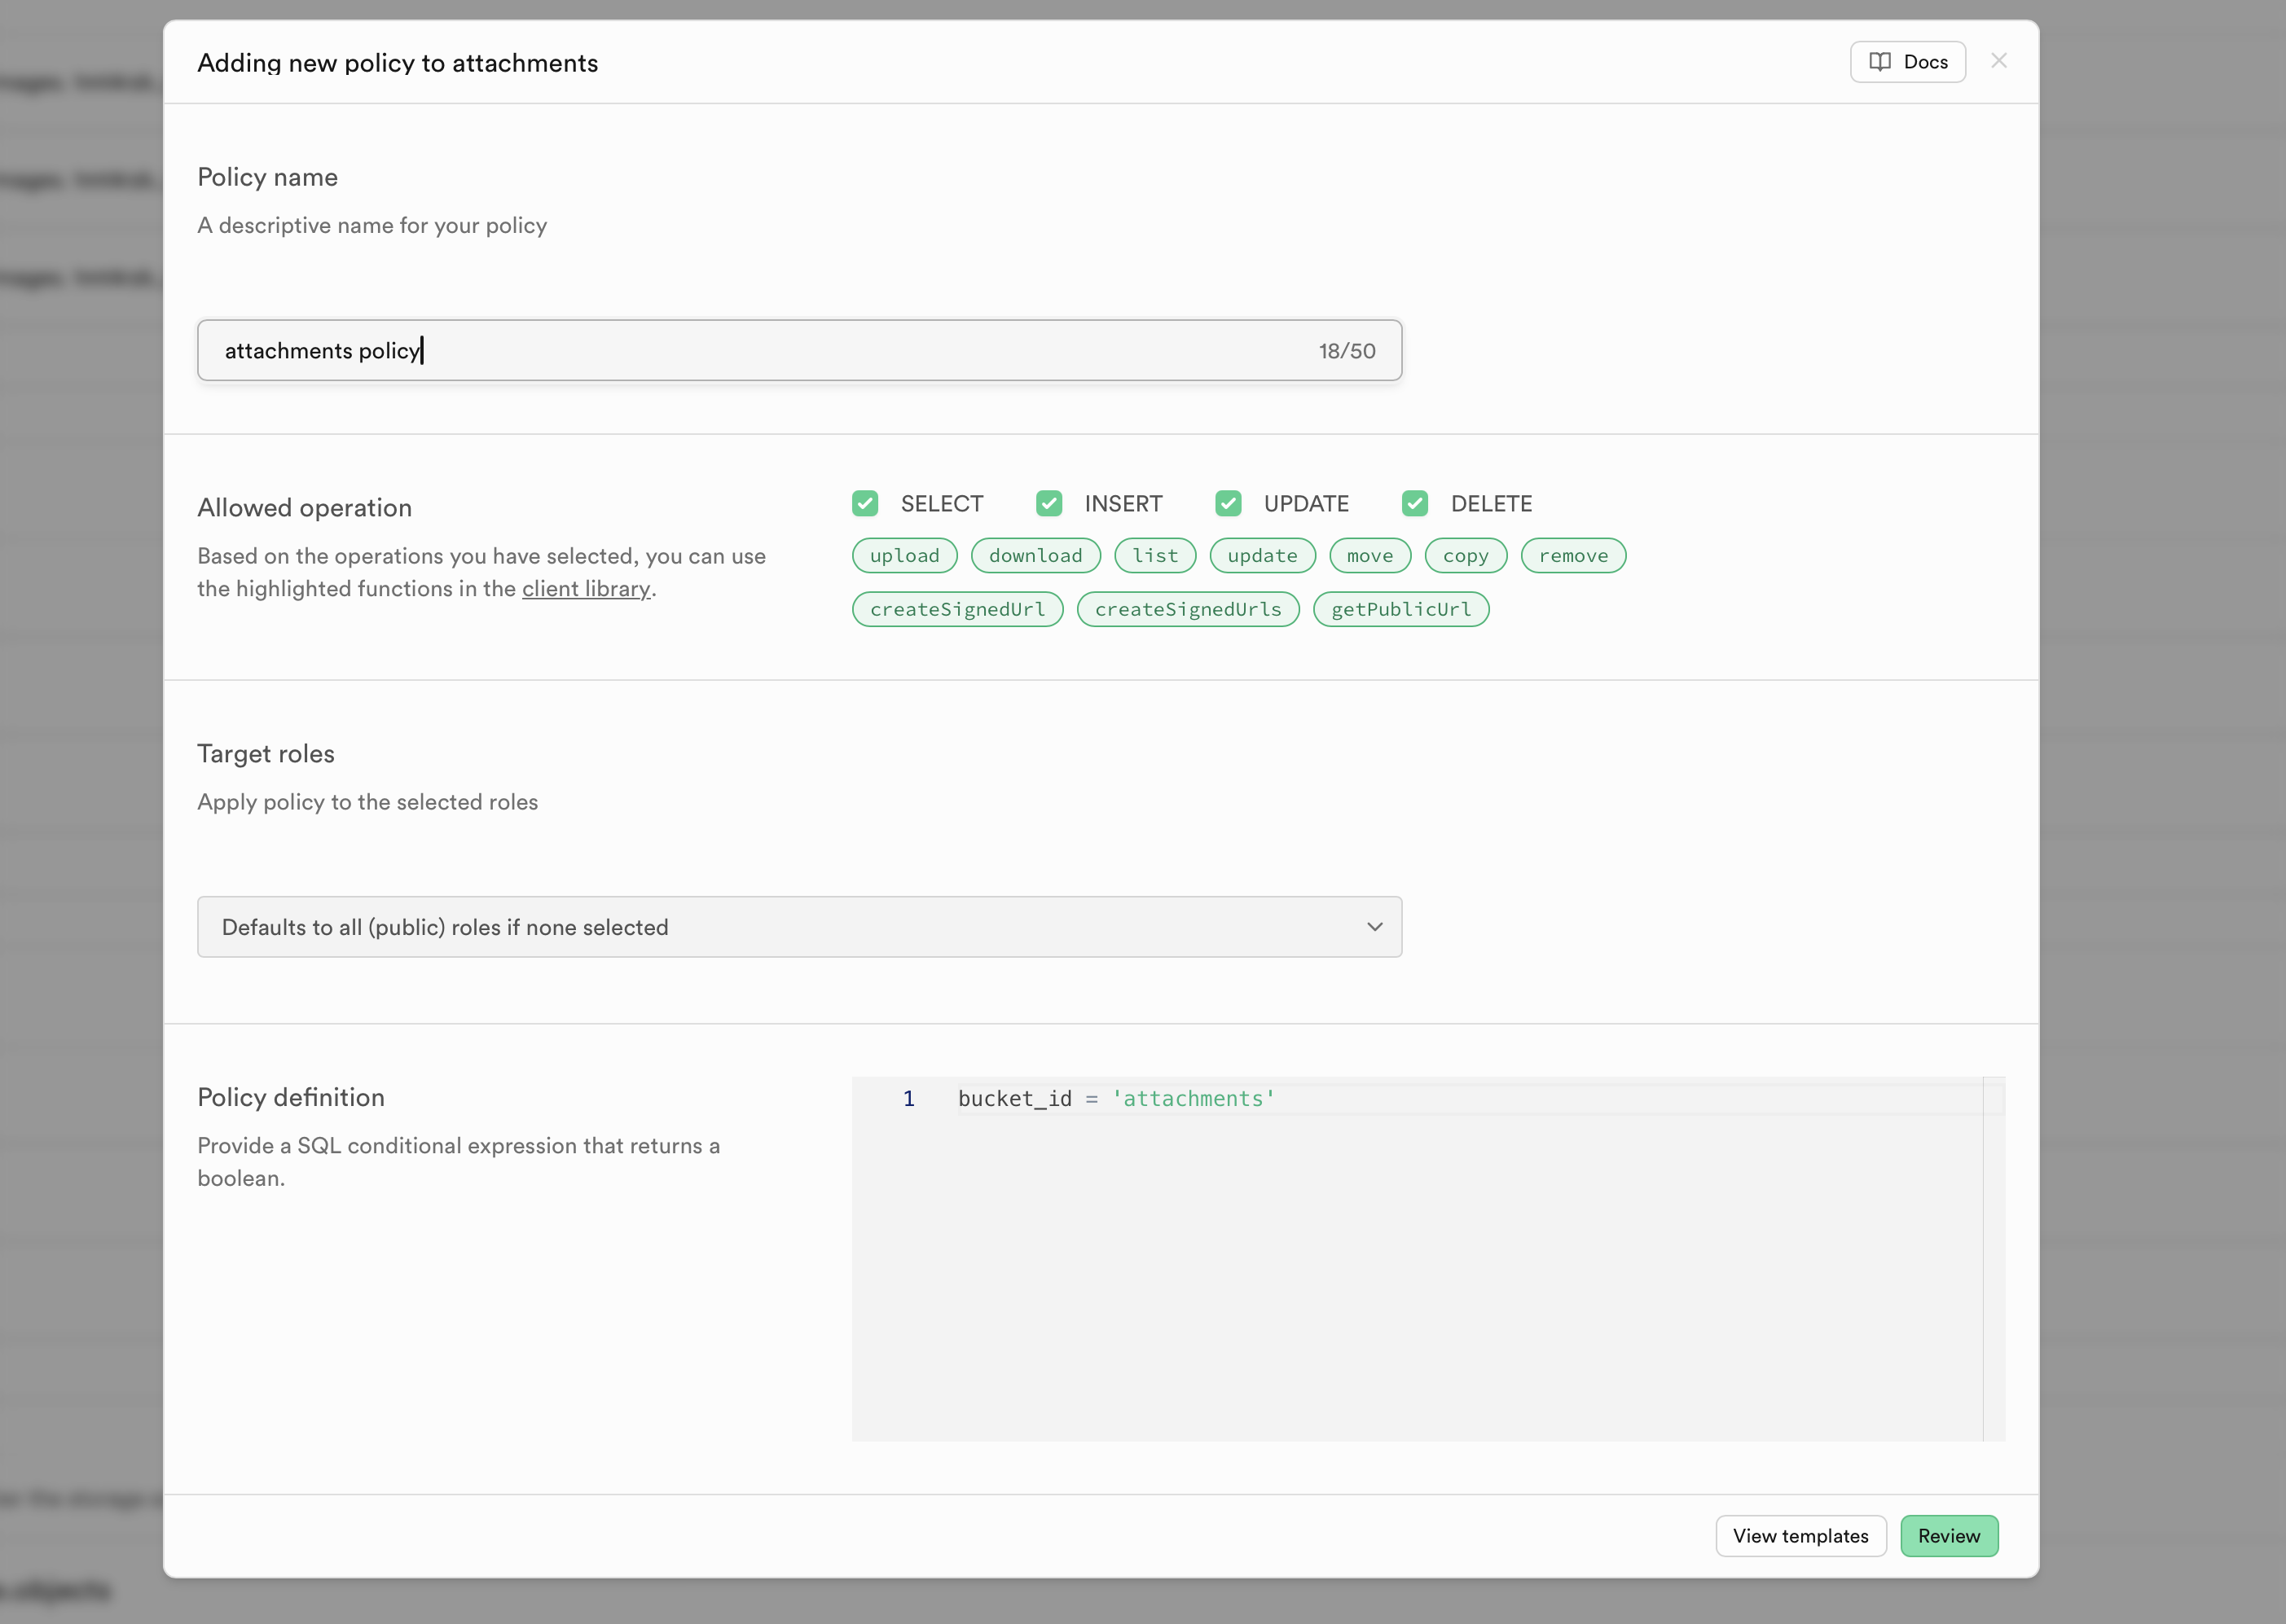
Press Review and then Save policy.
Great work! You have now set up all of the necessary backend infrastructure.
A07 Code Reading - Exploring Alias
Now that you have the project set up, the first part of the project will be reading through the entire repository and answering some questions. This will help you understand the codebase and how everything is connected. A07 is the largest codebase you have seen so far and serves as a great example for how your final project might be structured and how Next.js + Supabase projects scale.
Open the GradeScope assignment titled "A07 Code Reading" and answer the questions. You may submit this together with your partner. Your responses to the code reading is worth 15% of your overall project grade.
Connecting Alias to Supabase
In order for our Supabase client to connect to our Supabase project correctly, we need to establish a .env.local file in the /web directory. Go to this URL and complete JUST step 2! This will create a .env.local file with the correct environment variables and values to connect to your Supabase project. Make sure to replace the URL and anon key with the correct values from your Supabase project as shown in Step 2 on that page.
Implementing Functionality
Since the frontend and most of the Supabase database query functions have been handled for you, the main part of this assignment will be implementing the realtime functionality. There are two main parts to this:
- Complete all
[TODO]items in/web/pages/[serverId]/[channelId].tsx. Most of the main Realtime functionality needs to be added here. You may test your functions by running the app locally and opening two different browsers, logged in with two different accounts, to see if items are updating in realtime. - Complete the
[TODO]item in/web/utils/supabase/realtime/broadcast.ts. This function is used for sending realtime alerts to other clients.
To complete this functionality, you will be using the three main types of Supabase Realtime. Please read through the documentation for each here:
You may check out the Ajay's Coffee Shop example, which provides some sample code for using both Broadcast and Postgres Changes.
Deployment
The final step of this project is to deploy it to the web! Like previous assignments, we will use Vercel to deploy this assignment. Only one teammate has to deploy.
- Using the same method that you did for a01, create a deployment fork of your classroom respository on your personal account. Make sure this remains a private repository!
- Then, log into Vercel.
- Press the "Add New" button on the right, then "Project"
- On the lefthand side under the "Import Git Repository" heading, you should see your deployment fork. Press "Import".
- Under Framework Preset, make sure to select "Next.js".
- Under "Root Directory", press Edit. Then, select
weband press Continue. The Root Directory should now sayweb. - Under "Environment Variables", you will need to add the environment variables from your
.env.localfile. You can do this by pressing "New Variable" and adding each variable and value. Make sure to add all of the variables from your.env.localfile. - Press "Deploy" and wait for the deployment to finish.
Please come into office hours if you encounter any issues.
Submission
You will submit your final website to Gradescope. Before submitting, make sure that:
- All of your changes have been pushed to GitHub. You will be submitting a GitHub repository link along with source code - if you do not push your changes, we may get an incomplete version of your website.
- Your website is deployed to Vercel and is accessible at the URL following the format:
https://a07-alias-teamname.vercel.app.
Video
Please record a short demo video using Alias with your partner. One partner should be recording on one computer. Both partners should have the deployed version of Alias open on their respective computers. This video will be submitted to GradeScope.
Your demo should capture the following things:
-
Users are able to send messages and they appear on the other user's screen in realtime. To demo this, the non-recording partner should send a message to the recording partner.
-
The recording partner should see their partner is typing with an indicator. This should be visible in the demo for #1.
-
The recording partner should see their partner both adding and removing reactions to a message in realtime.
-
The recording partner should see their partner's display name update in realtime. To demo this, have the non-recording partner change their display name.
-
The recording partner should see their partner appear as offline when they close the website and online when they are on the website. Demo this feature as well.
Make sure to verbally explain what you are doing and what is happening! Both partners should be heard speaking in the video for full points.